How to Generate Medical Illustrations with Natomy
Natomy's image mode has two options:
-
Upload Image — turn a clinical photo, surgical photo, sketch, or diagram into an illustration. Pick this when you have a source image.
-
Text to Image — describe what you want, and Natomy draws it from scratch. Pick this when you have no source image.
Click Image in the left sidebar to start.
Step 1: Upload your image
Drag a file into the upload box, or click to browse. Natomy takes JPG, PNG, and WEBP files up to 16MB.
Step 2: Pick a style
The Style dropdown sets the look of your illustration.
| Style | Best for |
|---|---|
| Academic Illustration | Netter's-style figures for textbooks, lectures, and study notes |
| Medico Legal Illustration | Labeled courtroom exhibits for personal injury and malpractice cases |
| Photorealistic Render | Life-like detail for case presentations and clinical reference |
| 3D Medical Render | A 3D look for digital and social posts |
| Pen and Ink Illustration | A hand-drawn look for journals and editorial work |
| None (Edit Mode) | Edit your image and keep its current look |
Start with Academic Illustration for teaching material. It also solves the social media problem: an operating room photo that gets flagged as graphic on LinkedIn becomes a figure you can share.
Medico Legal Illustration redraws the photo as a clean, simplified exhibit with flat colors, plain leader lines, and labels in the margins.
None (Edit Mode) opens an Editing Instructions box. Use it to change one thing about your image. For example: remove the background and label the femur.
Step 3: Set the aspect ratio
Pick the shape that fits where the illustration goes:
- Landscape —
16:9for slides,4:3for print figures,1:1for social posts - Portrait —
9:16for stories and reels,3:4for posters
Set this before you generate. The model builds the picture to fit the frame you give it.
Click Generate Illustration. A timer runs under the preview while the model works.
Step 4: Compare the result
The preview turns into a before/after slider. Drag the handle to compare your photo with the illustration.
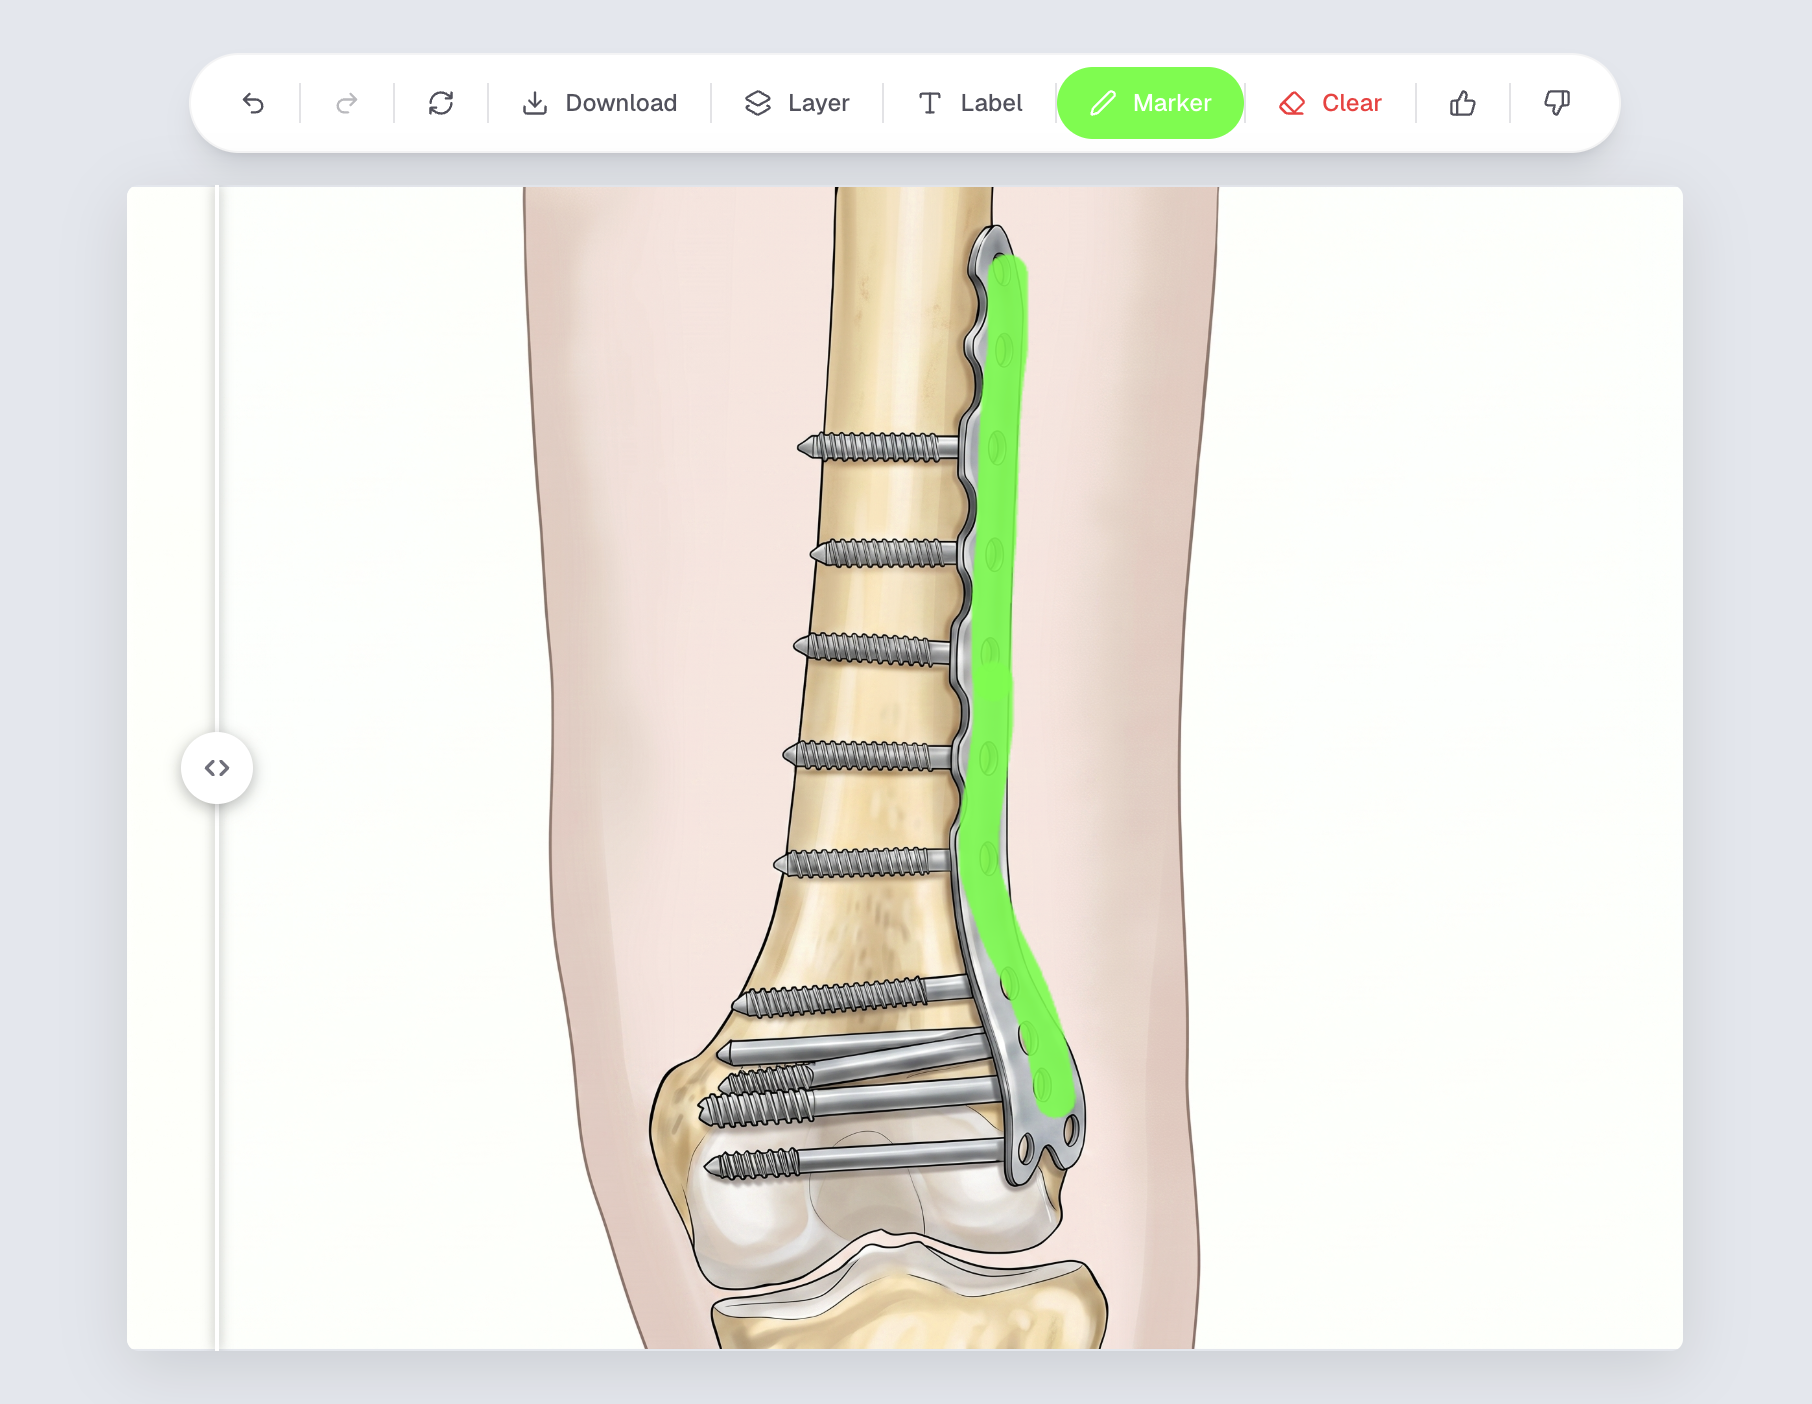
A toolbar sits above the preview: undo, redo, Start Over, Download, Label, Marker, Upscale, and thumbs up and down. Upscale re-renders the illustration at the highest quality for 1 credit.
Use the thumbs. They tell us which outputs work, and that feedback shapes the models.
Step 5: Refine with edits
Type your change in the instructions box and click Edit Illustration. Edits are free. Make one change at a time.
remove the surgical instrument and the green marker
label the ACL and the medial meniscus
change the background to plain white
Use the marker for one spot. Click Marker, draw over the area you want to change, then describe the change. The marker holds the edit inside your drawing and leaves the rest of the image alone. A Clear button appears once you draw. Skip the marker when you want to change the whole image.
Add a reference image when words fall short. The + button under the instructions box takes a second image. Use it to match a color scheme, a label style, or your institution's house style.
Undo steps back through your history, so you can try as many edits as you like.
Optional: Add labels
Click Label, then click the structure you want to label and type its name. Click away to save. Drag a label to move it, and click it again to edit the text. Right-click a label to delete it.
While a label is selected, the style bar sets its size, color, and end (dot, arrow, or plain line). Labels are saved with your illustration and included in the download.
Step 6: Download
Click Download for a 2K file. It is sharp enough for slides, posters, textbooks, and journal figures. Downloads are free, so save as many versions as you want.
Radiology Examples
Natomy also works directly on MRI and X-ray studies, not just clinical and surgical photos. Upload the scan, and Natomy redraws it as a textbook figure while keeping the same framing as the source image. Use the arrows to page through examples.
Lumbar disc herniation with caudal migration
PASS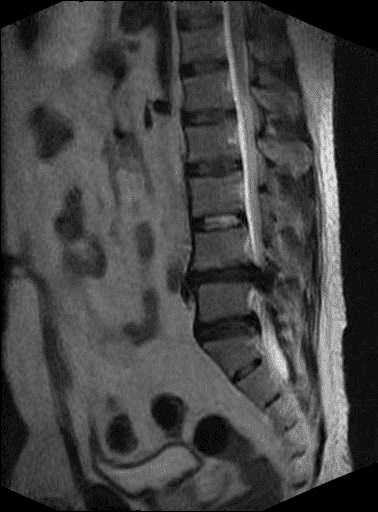
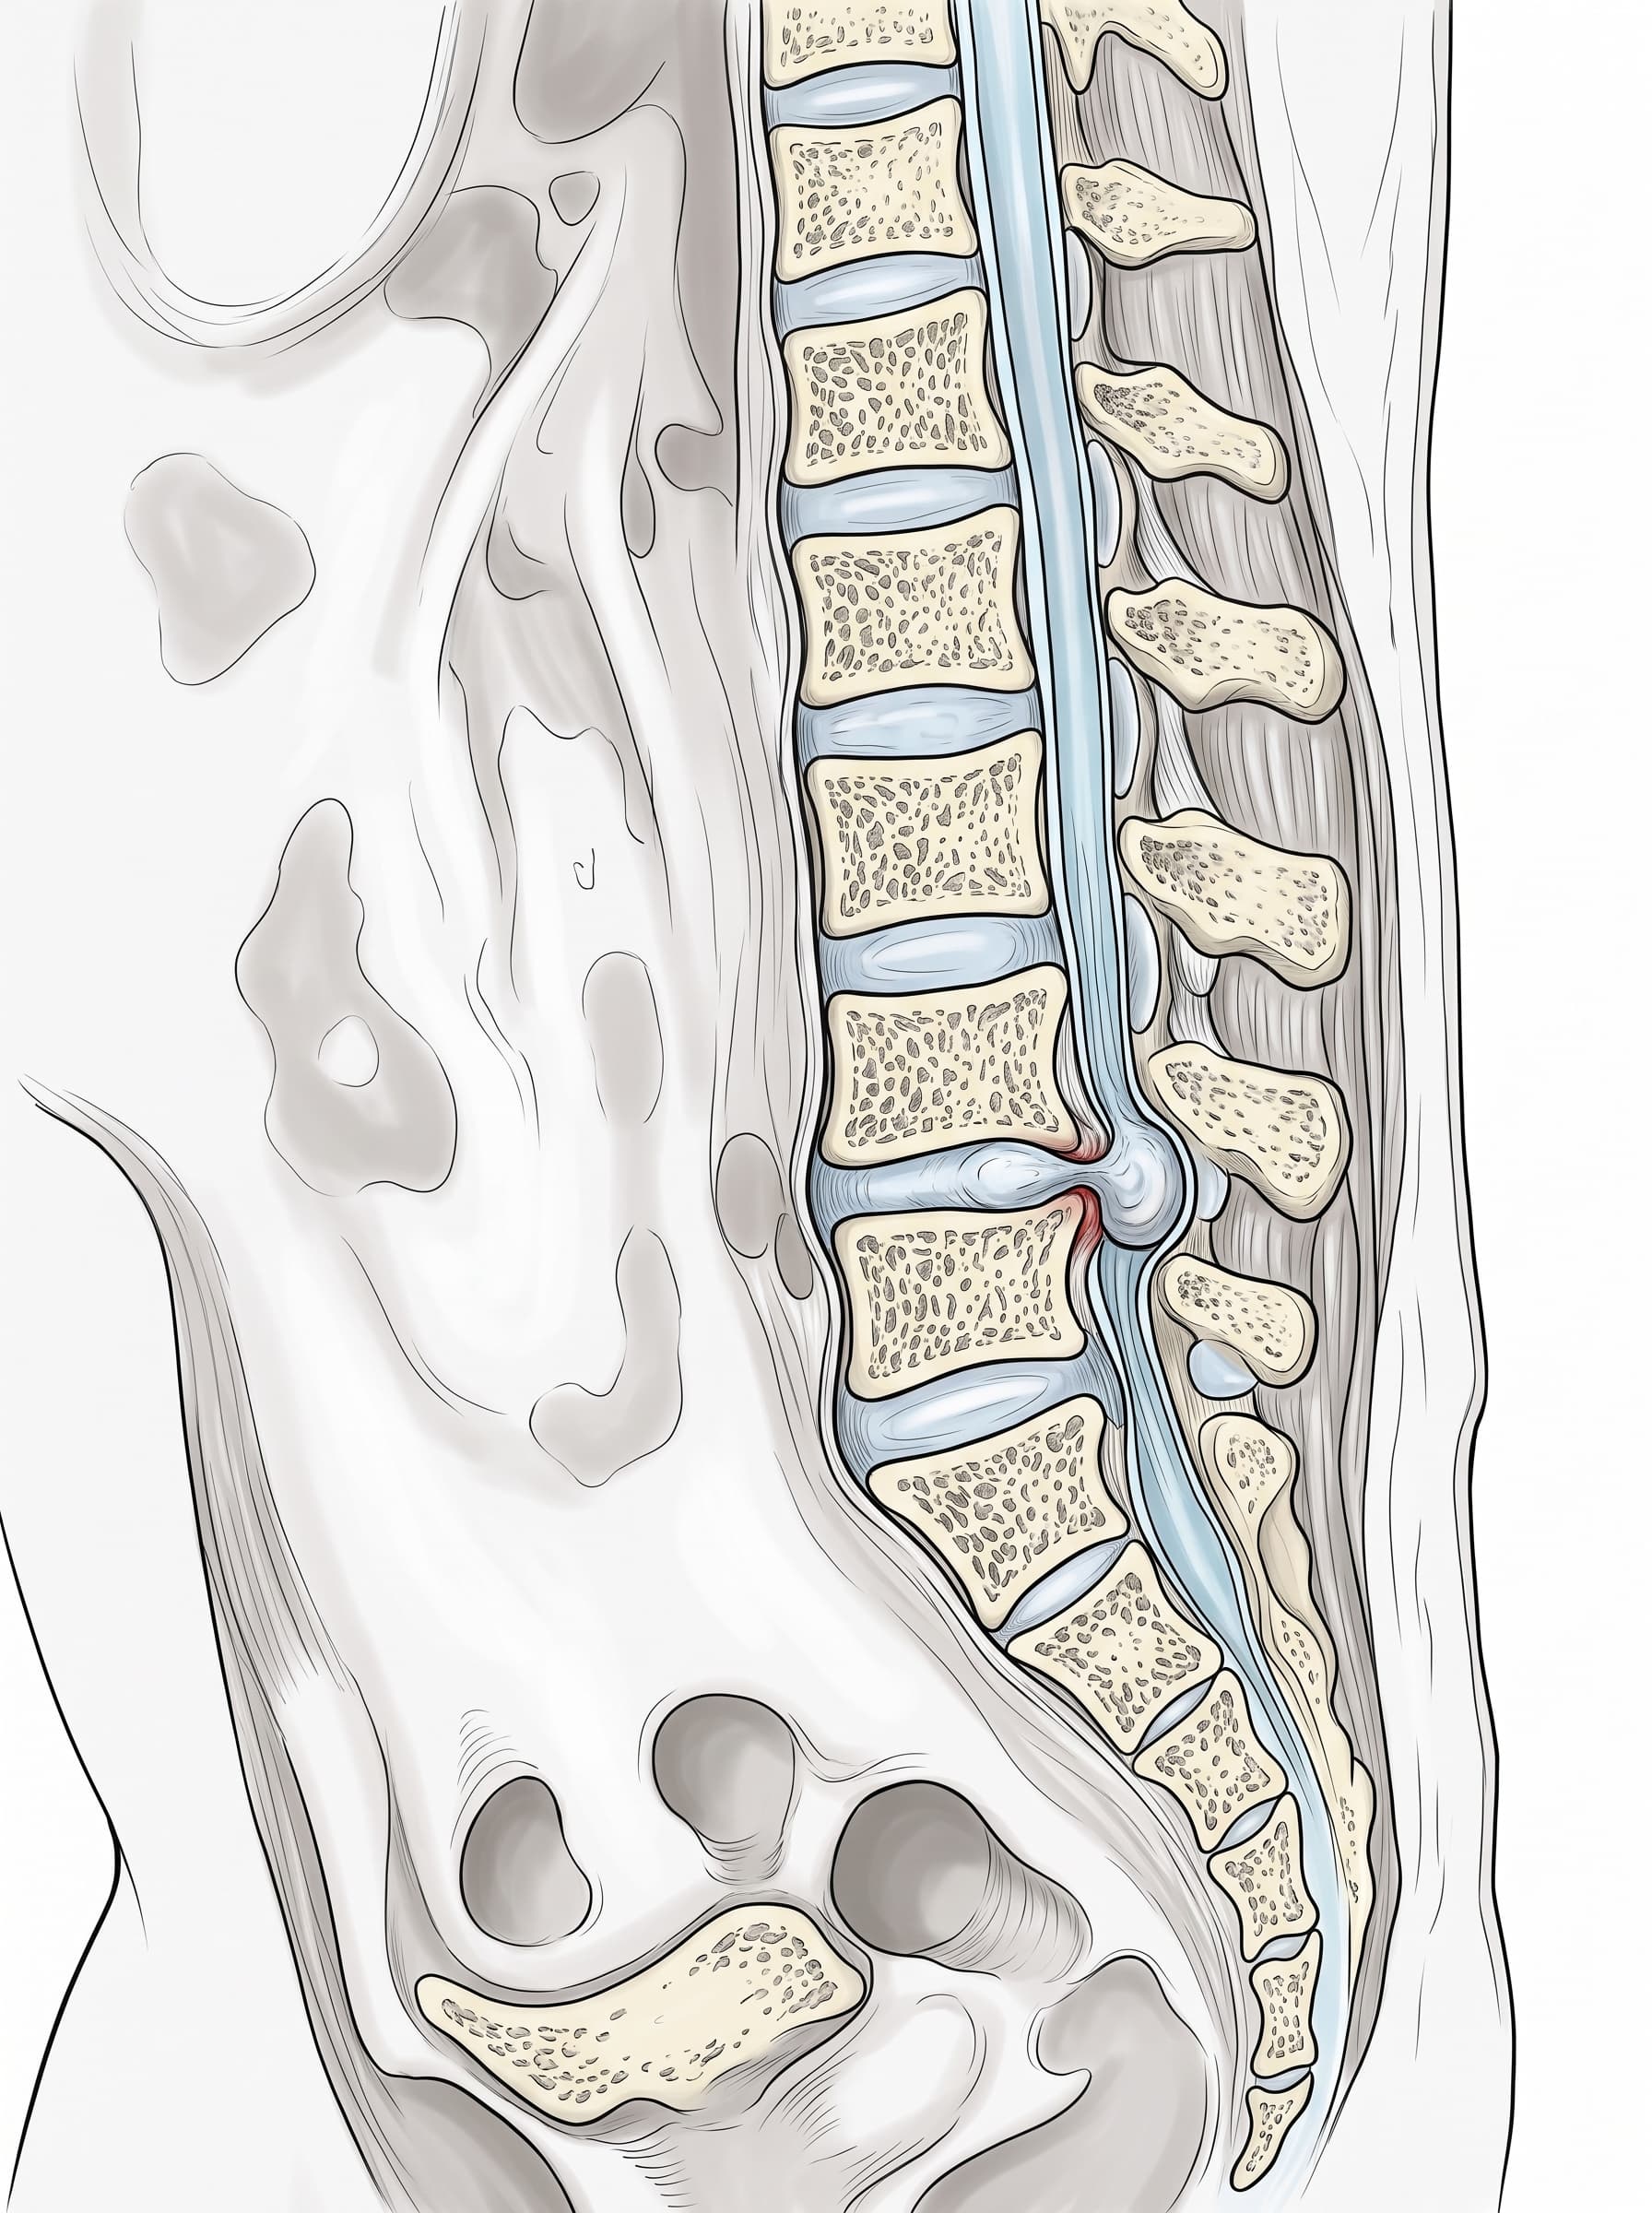
Review: Maintains 1:1 composition and accurate anatomical representation of the MRI. The style successfully mimics a clean, textbook-style illustration with clear differentiation of tissues, though some minor stylized textures could be simpler.
Ready to create your own medical illustration?
Upload a clinical photo or describe what you need. You get a publication-ready illustration in under a minute.
Try Natomy →